Throughout the history of computer graphics, many different cloth models have been developed for simulation. Of these, one of the simplest models uses a system of point masses and springs. Given a sheet of cloth with some desired dimensions and parameters, we can divide the cloth up into evenly spaced point masses and then connect nearby masses with springs.
Before writing any code, look over the struct definitions in spring.h, pointMass.h, and cloth.h.
Then, complete the function Cloth::buildGrid in cloth.cpp, which takes the cloth's parameters and populates the cloth's point_masses and springs vectors with the necessary point masses and springs, respectively, in the grid.
Building a grid of masses and springs
Start by creating an evenly spaced grid of masses. There should be num_width_points by num_height_points total masses spanning width and height lengths, respectively. If the cloth's orientation is HORIZONTAL, then set the y coordinate for all point masses to 1 while varying positions over the xz plane. Otherwise (i.e. the orientation is VERTICAL), generate a small random offset between -1/1000 and 1/1000 for each point mass and use that as the z coordinate while varying positions over the xy plane. You may find the rand() function useful. Let the top left (first) point mass be at coordinate (0, 0) and the bottom right (last) point mass be at coordinate (width, height) with respect to the varying plane.
If the point mass's (x, y) index is within the cloth's pinned vector (which stores the indices of the pinned masses for each row), then set the point mass's pinned boolean to true.
Store these point masses in the point_masses vector IN ROW-MAJOR (X-AXIS) ORDER (or else the rendering will not work properly).
Next, create springs to apply the structual, shear, and bending constraints between point masses. Each of these springs takes in pointers to the two point masses that belong at the two ends of the spring and an enum that represents the type of constraint (STRUCTURAL, SHEARING, or BENDING).
- Structural constraints exist between a point mass and the point mass to its left as well as the point mass above it.
- Shearing constraints exist between a point mass and the point mass to its diagonal upper left as well as the point mass to its diagonal upper right.
- Bending constraints exist between a point mass and the point mass two away to its left as well as the point mass two above it.
Implementation tips
- Masses and Springs are stored in the respective vectors directly. You may find the
emplace_backfunction useful. - Make sure to account for edge (literally) cases.
- Do not add springs until after you have added all masses unless you really know what you are doing.
- Pointer arithmetic can make things a lot easier here.
- Since
point_massesis a 1-dimensional vector, review how to convert a point mass's 2-D grid index into a 1-D vector index.
Test your implementation
./clothsim -f ../scene/pinned4.json
You should see a horizontally flat cloth wireframe similar to the image below (after moving the camera around a bit).
To make sure your springs are correctly created, try enabling and disabling the three different constraints on the GUI. You should see some springs appear and disappear accordingly; make sure they are the ones you expected to appear and disappear!
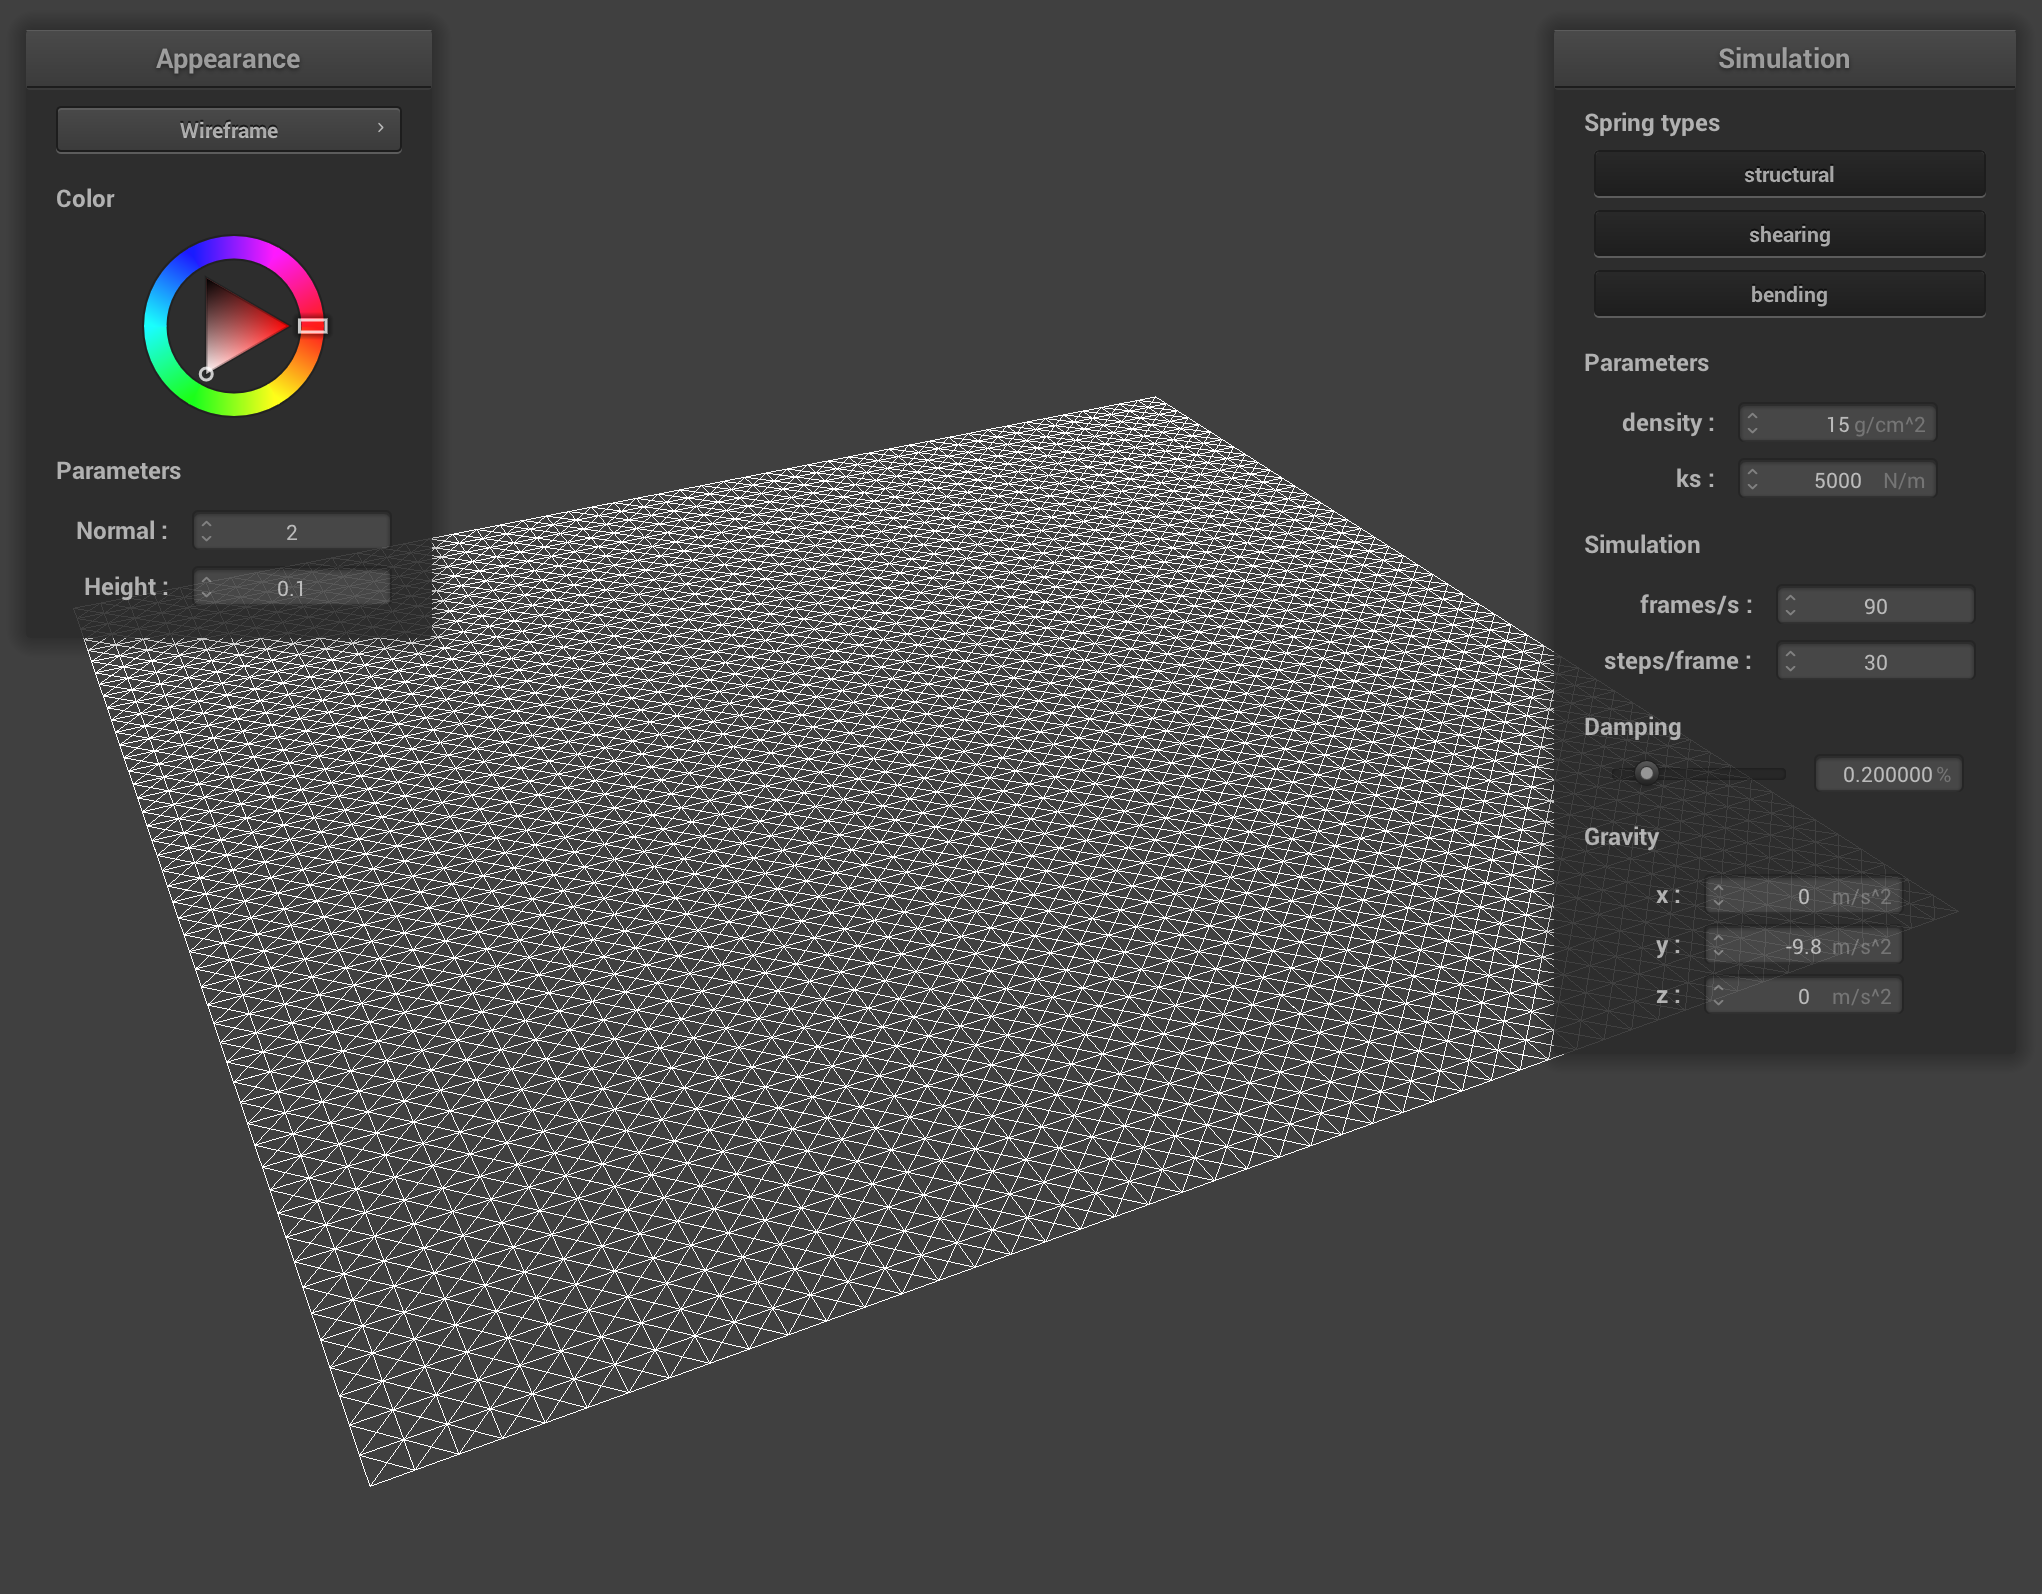
Pop quiz: What's happening in the above image?
Part 1 Deliverables
- Take some screenshots of scene/pinned2.json from a viewing angle where you can clearly see the cloth wireframe to show the structure of your point masses and springs.
- Show us what the wireframe looks like (1) without any shearing constraints, (2) with only shearing constraints, and (3) with all constraints.