Overview
In this project, you will implement a real-time simulation of cloth using a mass and spring based system. You will build the data structures to discretely represent the cloth, define and apply physical constraints on them, and apply numerical integration to simulate the way cloth moves over time. Finally, you will implement collisions with other objects as well as self-collisions to prevent cloth clipping.
Deadlines
| Component | Deadline |
|---|---|
| Checkpoint Quiz | 04/06/2021 |
| Assignment 4 | 04/13/2021 |
Project 4 is due Tuesday 04/13/2021, 11:59PM. You have a total of 6 slip days to use on assignments throughout the entire semester, but you do not have slip days for checkpoint quizzes. Assignments submitted after 11:59PM are considered as a full day late. There is no late minutes or late hours. After you have used all 6 slip days, you will lose 10% for each day you submit an assignment late.
Your final assignment submission must include both your final code and final write-up. Please consult this article on how to submit assignment for CS184.
Partners
You can optionally work with a partner on this project. If you work with a partner, both of you should join the same team on Github Classroom. You should also produce 1 writeup and 1 gradescope submission with the partner added on.
Checkpoint Quiz
The checkpoint quiz can be found on Gradescope and is intended to help you get started on Project 4. It is due Tuesday 04/06, 11:59PM PST. The content necessary for answering all questions can be found on the project spec or in lecture material. You will receive 5 "buffer points" for completing the quiz only if you answer at least 4 out of 7 questions correctly. These 5 buffer points will be added to your Project 4 grade, capped at increasing your score to 100. For example, if you earned 96 points on the base project and 2 points of extra credit, the 5 buffer points will bring your score up to 100, and the extra credit will bring your total score to 102.
You may change your answers after submitting, up until the deadline. No slip days may be used on checkpoint quizzes.
Project structure
The project has 5 parts worth a total of 100 possible points. Some require only a few lines of code, while others are more substantial.
- Part 1: Masses and springs
- Part 2: Simulation via numerical integration
- Part 3: Handling collisions with other objects
- Part 4: Handling self-collisions
- Part 5: Shaders (has its own page, located here)
- Part 6: Extra credit: Additional cloth simulation features!
You'll also want to check out the website writeup and deliverables.
Getting started
You can clone the assignment from your private repo using the command
git clone <YOUR_PRIVATE_REPO>
Building and running the program
As before, refer to this how to build cs184 projects document to build your project.
After you have built the program, you will have an executable file clothsim that takes in zero or one argument. Running the program with zero arguments will load up the default scene. Otherwise, to load a specific scene, run the program as follows:
./clothsim -f ../scene/<my_scene>.json
You will also need to use the -o and -a flags for the write-up, which control the resolution of the rendered spheres. -o <INT> controls the vertical resolution, and -a <INT> controls the horizontal resolution. For example, this will render a particularly high-quality sphere:
./clothsim -f ../scene/sphere.json -o 128 -a 128
Getting acquainted with the starter code
Before you start, here is some basic information on the structure of the starter code.
- cloth.cpp/h: The cloth representation, as well as methods that directly change the cloth during the simulation
- clothSimulator.cpp/h: The primary program that wraps around the cloth and its constituents and runs the simulation and GUI
- spring.h: A struct definition for a simple spring in our mass-spring system that represents a connection between two point masses
- pointMass.h: A struct definition for a single point mass that discretizes the cloth and is affected by forces (e.g. spring forces, gravity) in the system
- collision/: Directory containing struct definitions for static primitive objects, such as sphere.cpp/h and plane.cpp/h
- scene/: Directory containing various scenes saved in JSON format
In this project, you will write code in cloth.cpp, collision/sphere.cpp, and collision/plane.cpp.
Using the GUI
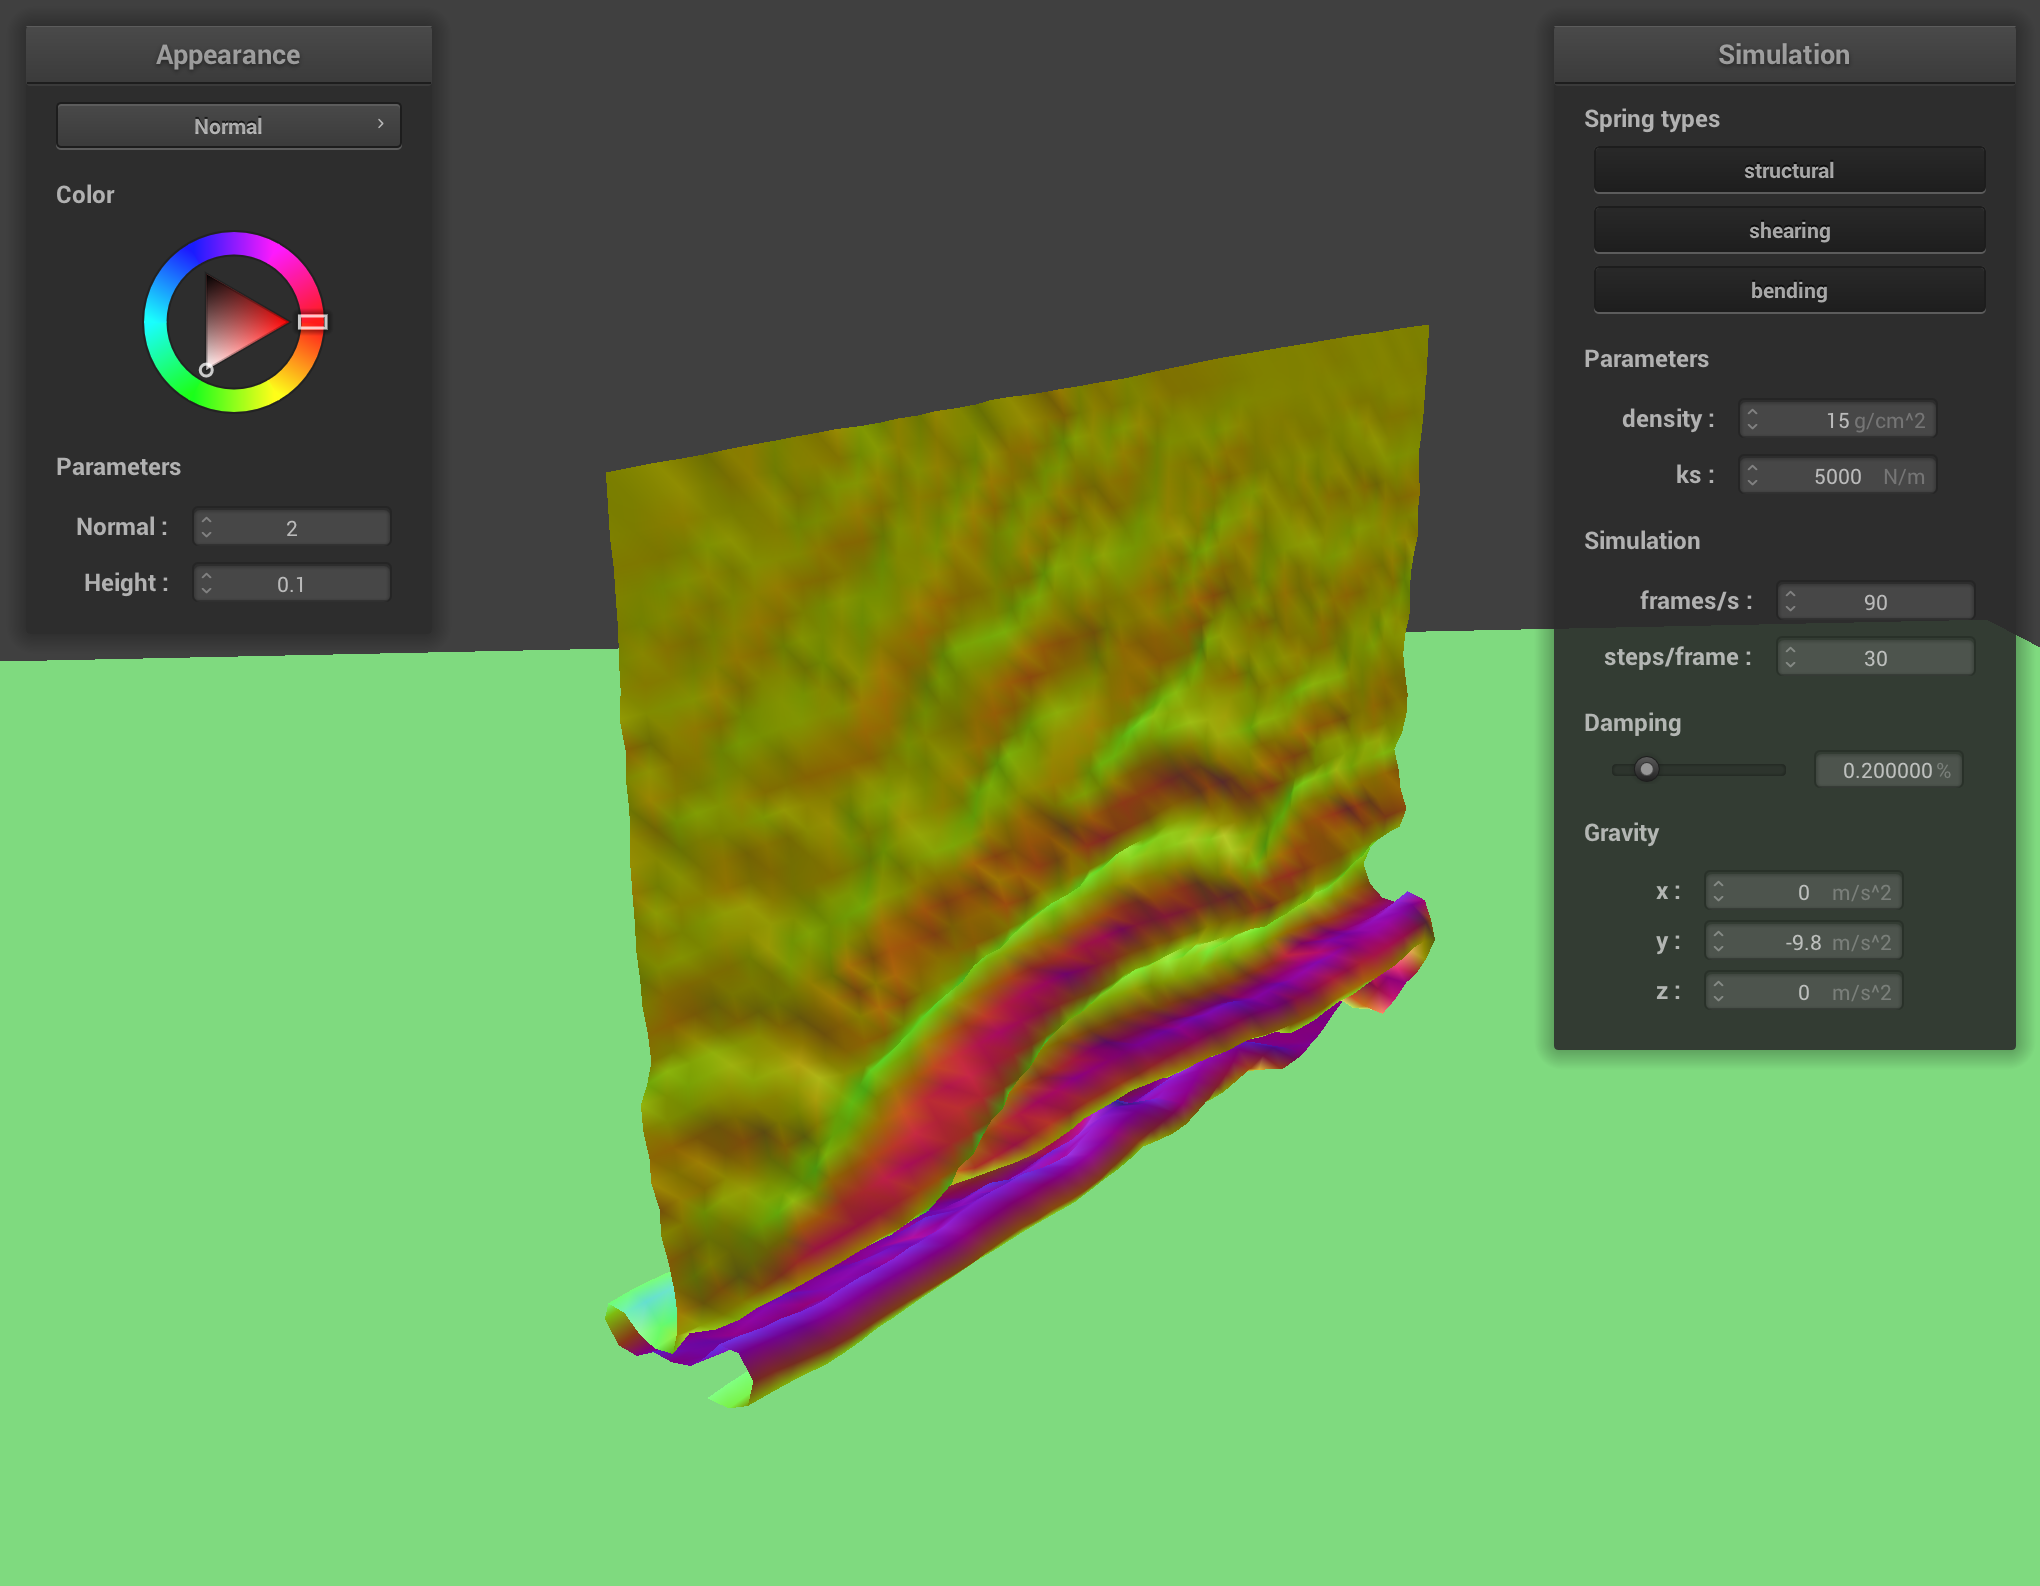
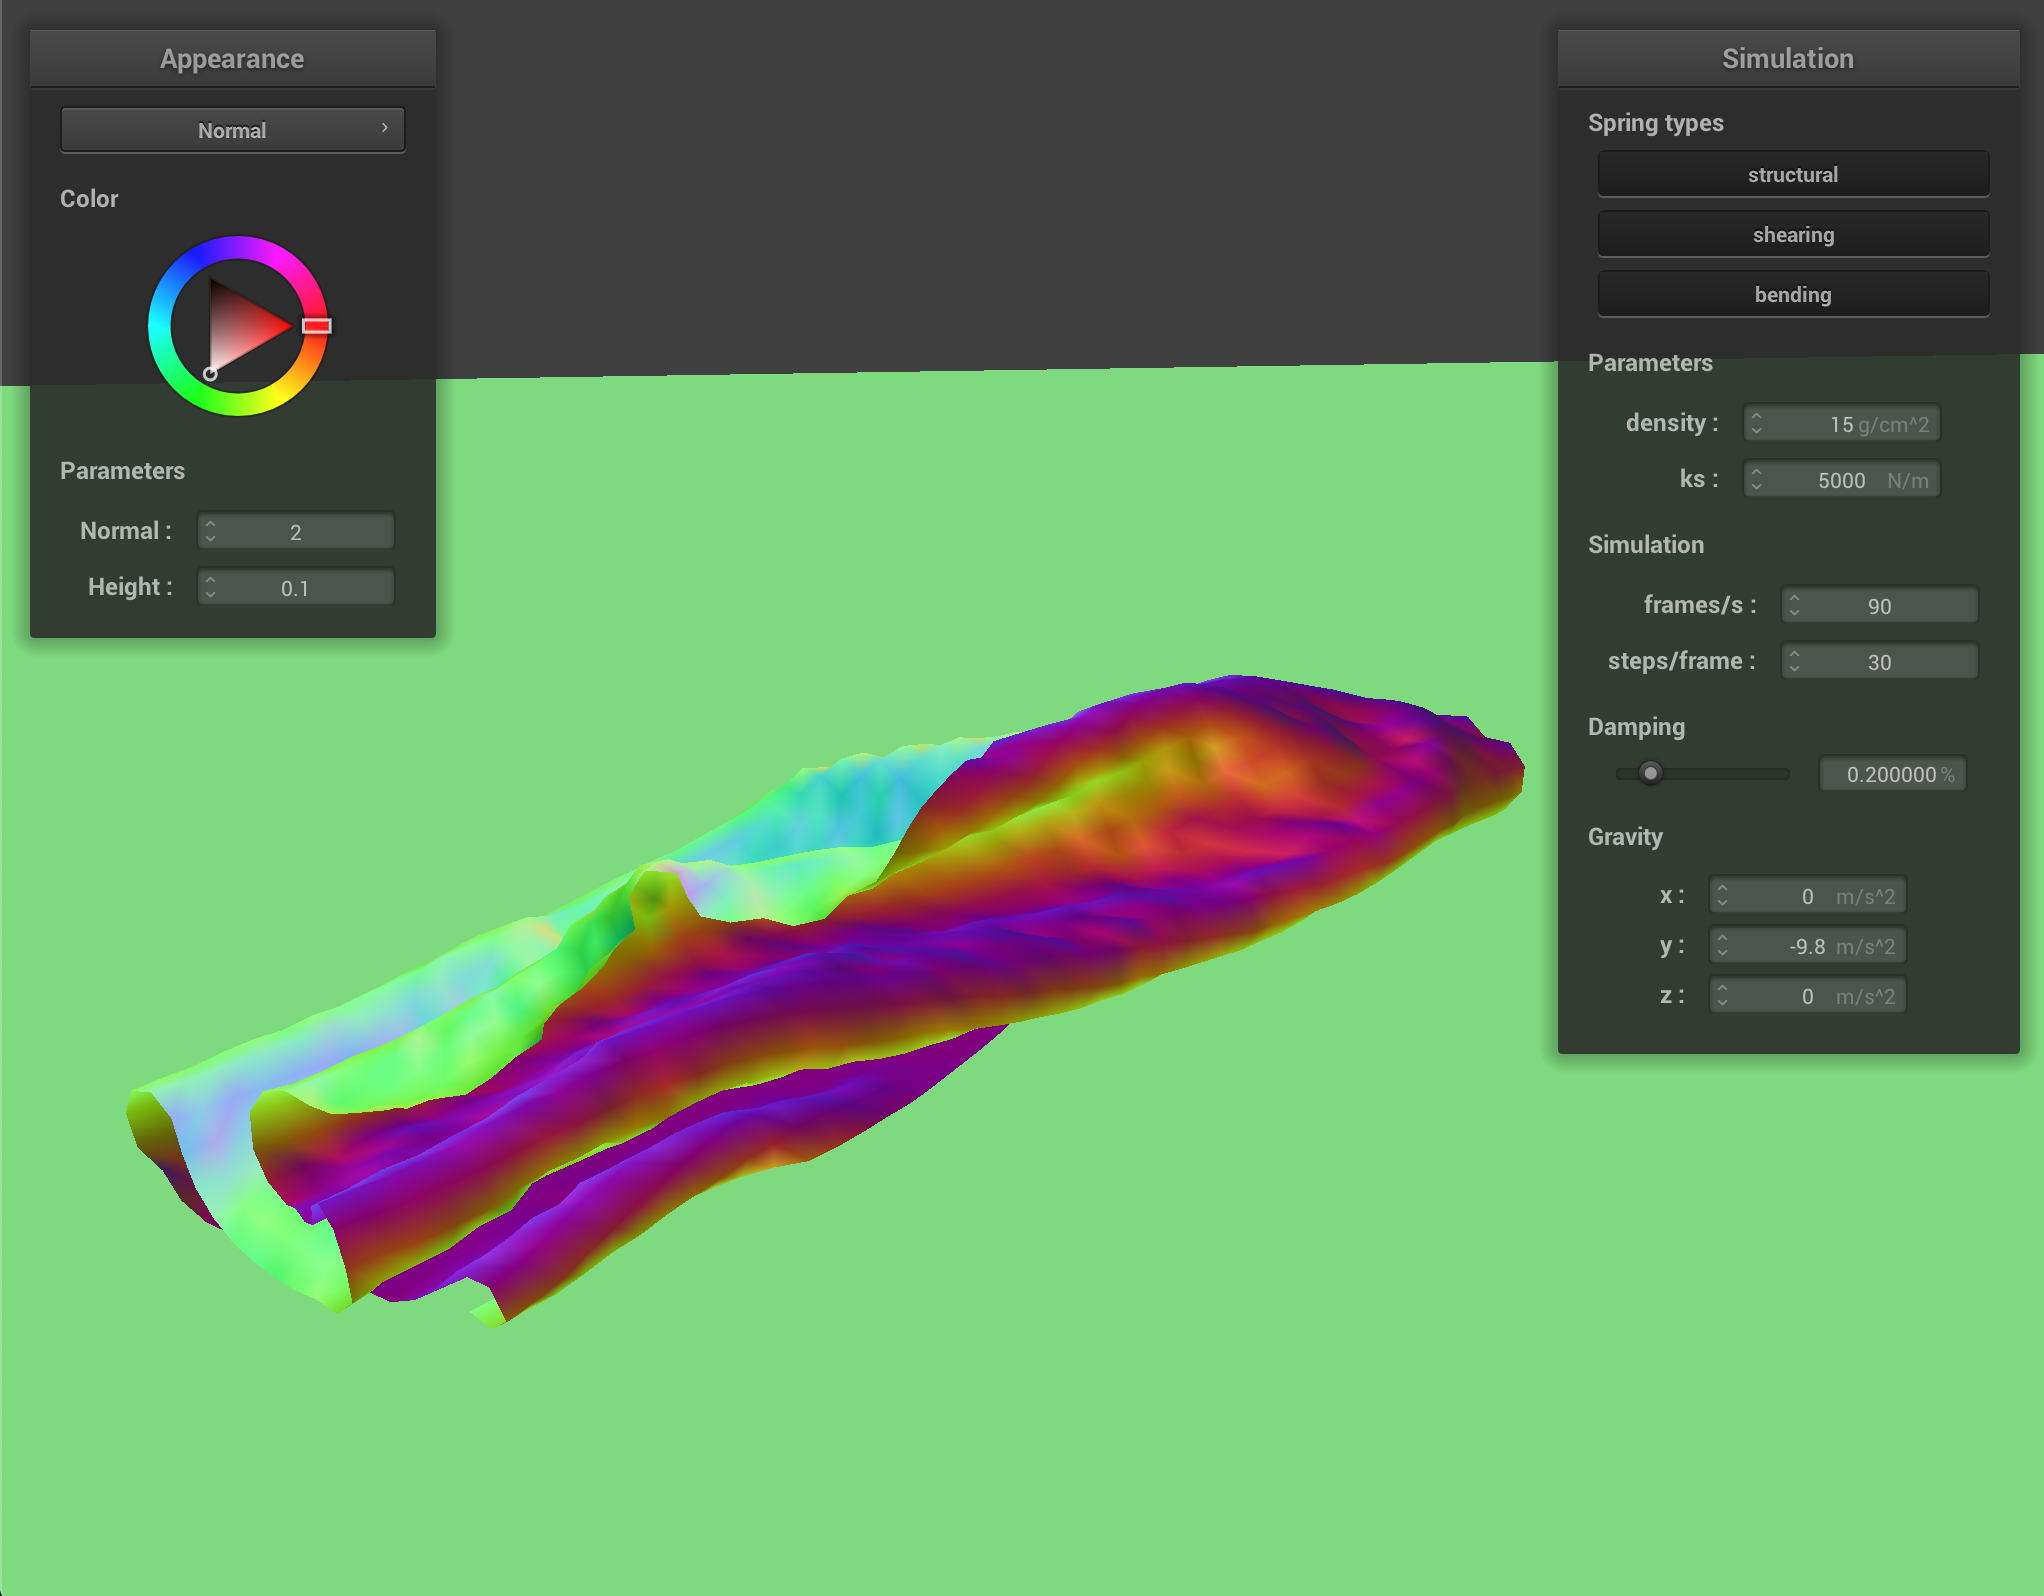
![]()
Besides the actual graphical user interface that you can work with using your mouse to tweak cloth parameters and dynamically change external forces, there are several keyboard commands that you might find useful.
| Command | Key |
|---|---|
| Pause simulation | P |
| (while paused) Go forward 1 timestep | N |
| Restart simulation | R |
| End simulation | ESC |
| Reset camera to default position | SPACE |
| Rotate camera | (click and drag, or right click) |
| Pan camera | (hold control + click and drag, or right click) |
Part 1: Masses and springs
Throughout the history of computer graphics, many different cloth models have been developed for simulation. Of these, one of the simplest models uses a system of point masses and springs. Given a sheet of cloth with some desired dimensions and parameters, we can divide the cloth up into evenly spaced point masses and then connect nearby masses with springs.
Before writing any code, look over the struct definitions in spring.h, pointMass.h, and cloth.h.
Then, complete the function Cloth::buildGrid in cloth.cpp, which takes the cloth's parameters and populates the cloth's point_masses and springs vectors with the necessary point masses and springs, respectively, in the grid.
Building a grid of masses and springs
Start by creating an evenly spaced grid of masses. There should be num_width_points by num_height_points total masses spanning width and height lengths, respectively. If the cloth's orientation is HORIZONTAL, then set the y coordinate for all point masses to 1 while varying positions over the xz plane. Otherwise (i.e. the orientation is VERTICAL), generate a small random offset between -1/1000 and 1/1000 for each point mass and use that as the z coordinate while varying positions over the xy plane. You may find the rand() function useful. Let the top left (first) point mass be at coordinate (0, 0) and the bottom right (last) point mass be at coordinate (width, height) with respect to the varying plane.
If the point mass's (x, y) index is within the cloth's pinned vector (which stores the indices of the pinned masses for each row), then set the point mass's pinned boolean to true.
Store these point masses in the point_masses vector IN ROW-MAJOR (X-AXIS) ORDER (or else the rendering will not work properly).
Next, create springs to apply the structual, shear, and bending constraints between point masses. Each of these springs takes in pointers to the two point masses that belong at the two ends of the spring and an enum that represents the type of constraint (STRUCTURAL, SHEARING, or BENDING).
- Structural constraints exist between a point mass and the point mass to its left as well as the point mass above it.
- Shearing constraints exist between a point mass and the point mass to its diagonal upper left as well as the point mass to its diagonal upper right.
- Bending constraints exist between a point mass and the point mass two away to its left as well as the point mass two above it.
Implementation tips
- Masses and Springs are stored in the respective vectors directly. You may find the
emplace_backfunction useful. - Make sure to account for edge (literally) cases.
- Do not add springs until after you have added all masses unless you really know what you are doing.
- Pointer arithmetic can make things a lot easier here.
- Since
point_massesis a 1-dimensional vector, review how to convert a point mass's 2-D grid index into a 1-D vector index.
Test your implementation
./clothsim -f ../scene/pinned4.json
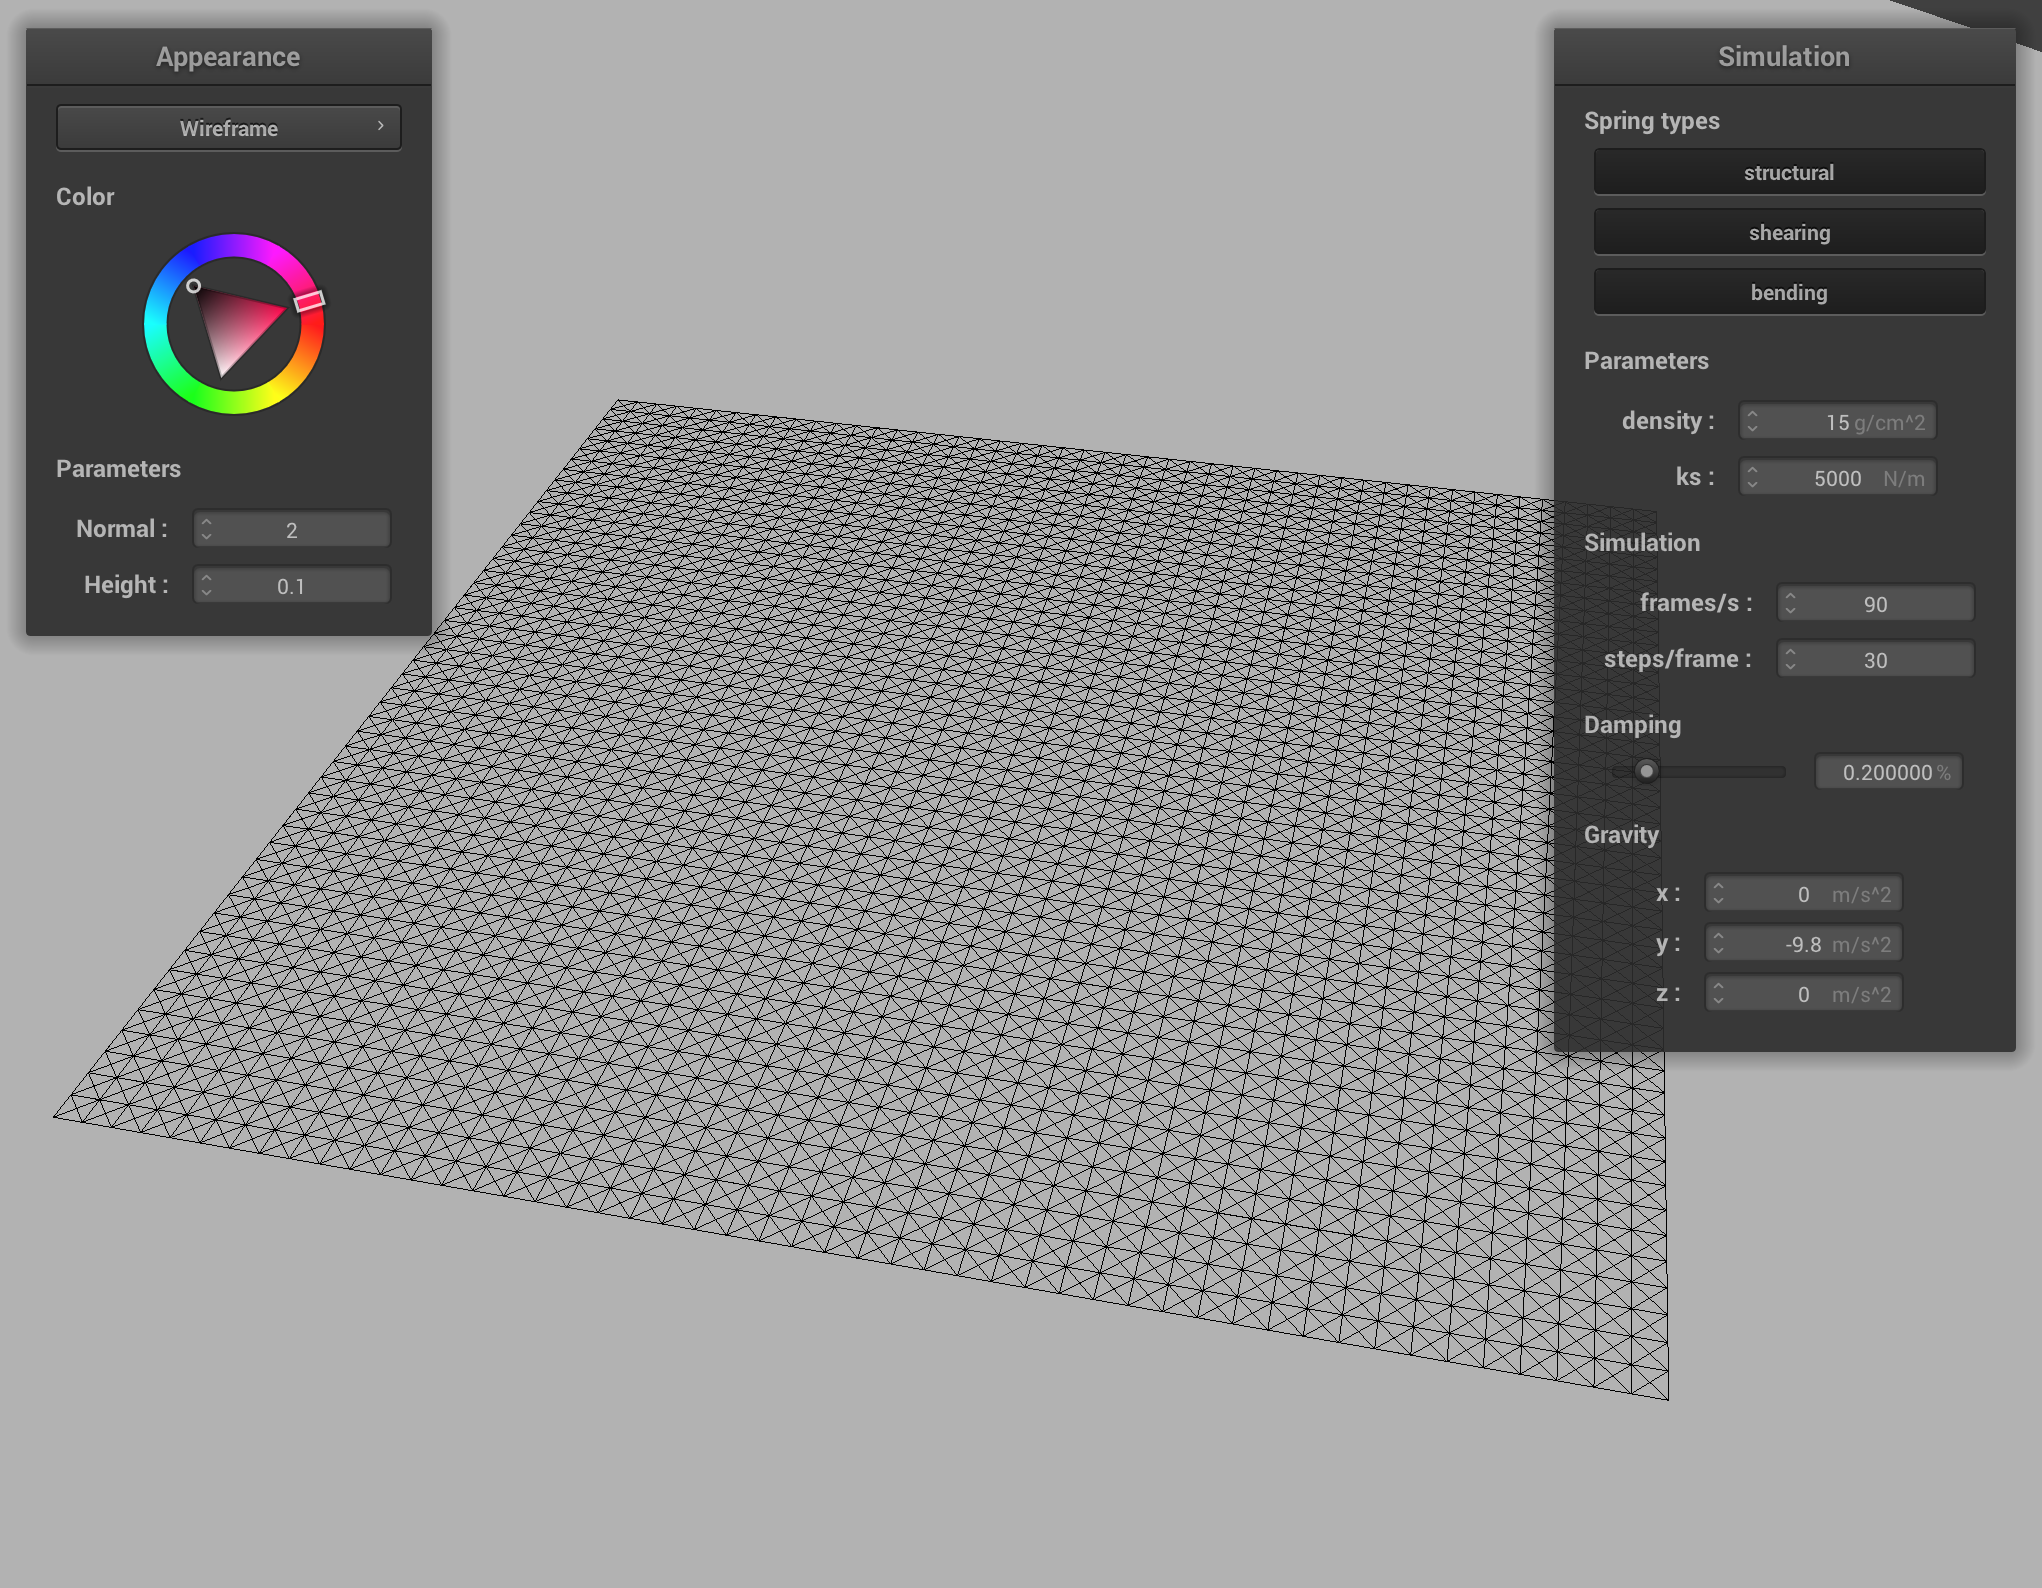
You should see a horizontally flat cloth wireframe similar to the image below (after moving the camera around a bit).
To make sure your springs are correctly created, try enabling and disabling the three different constraints on the GUI. You should see some springs appear and disappear accordingly; make sure they are the ones you expected to appear and disappear!
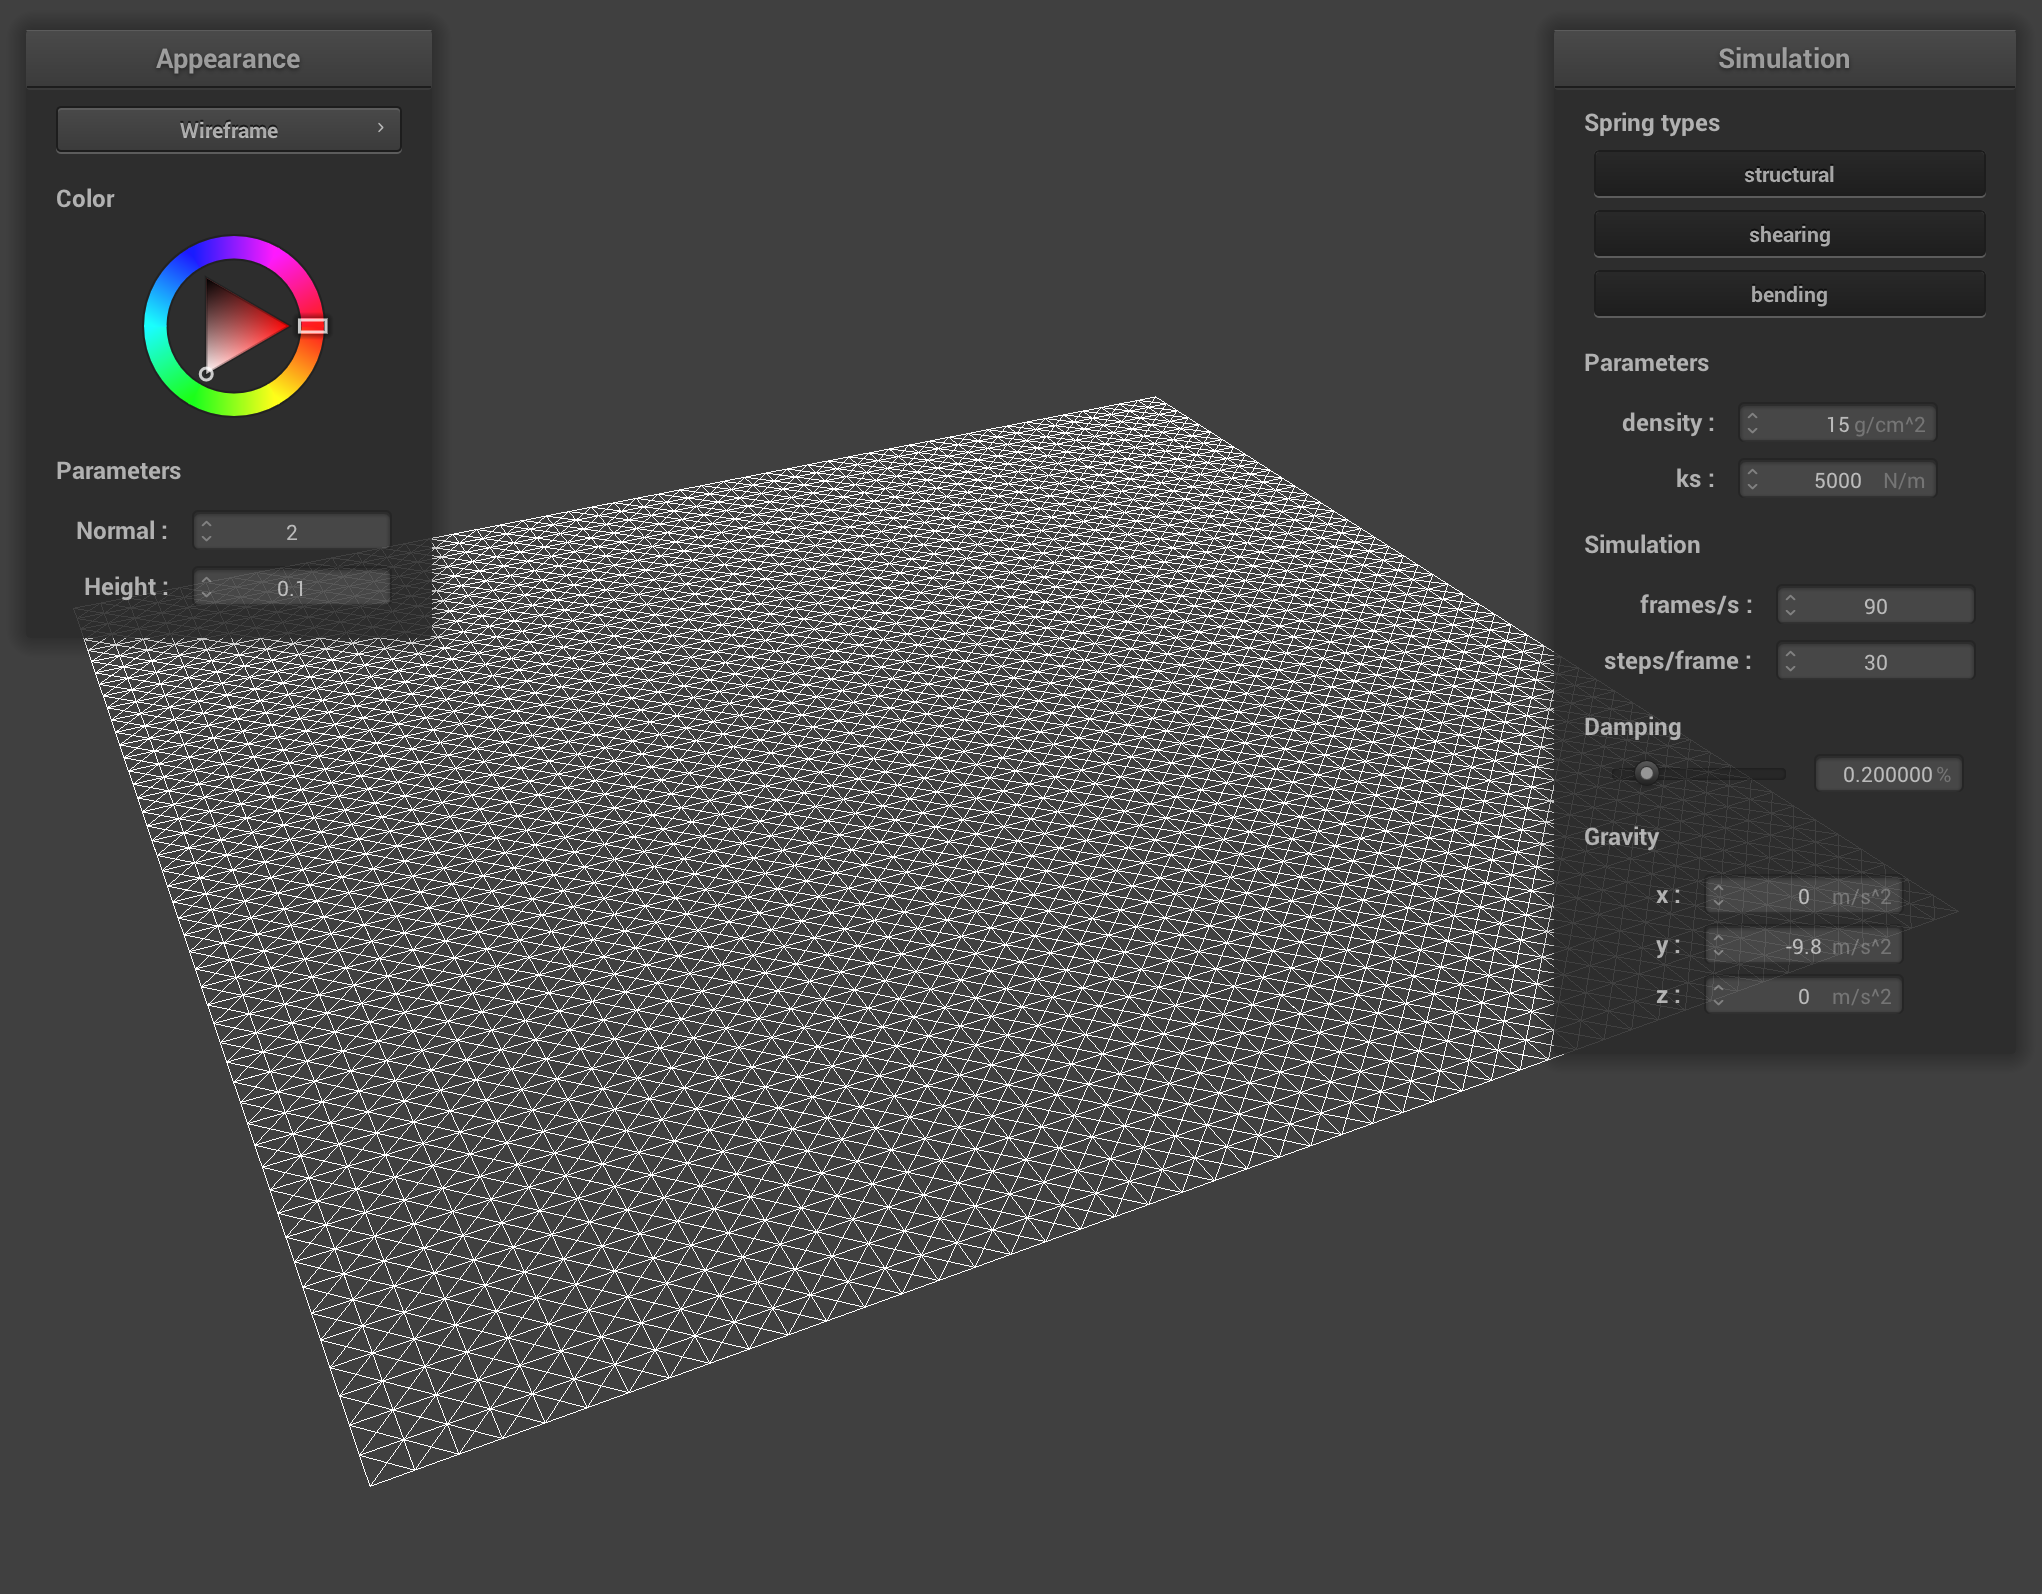
Pop quiz: What's happening in the above image?
Part 1 Deliverables
- Take some screenshots of scene/pinned2.json from a viewing angle where you can clearly see the cloth wireframe to show the structure of your point masses and springs.
- Show us what the wireframe looks like (1) without any shearing constraints, (2) with only shearing constraints, and (3) with all constraints.
Part 2: Simulation via numerical integration
Now that we have set up the cloth model as a system of masses and springs, we need to integrate the physical equations of motion in order to apply the forces on our cloth's point masses to figure out how they move from one time step to the next.
Take a look at Cloth::simulate in cloth.cpp. This method runs one time step in the simulation of time length delta_t ( in equations below) and applies the accelerations uniformly to all point masses in the cloth. The ClothParameters *cp argument contains the parameters that characterize the cloth and its simulation, such as the spring constant ks and which spring constraints to simulate. collision_objects contains all of the objects in the scene that the cloth needs to check for collisions with at each time step.
In our representation, there are two kinds of forces: external forces (such as gravity) which uniformly affect the cloth and spring correction forces which apply the spring constraints from before to keep the cloth together. The external forces are captured by external_accelerations. On the other hand, the spring correction forces vary between point masses and will be computed based on the state of each spring.
Complete the rest of the Cloth::simulate method:
2.1: Compute total force acting on each point mass
Note: Every point mass has a vector representing the total force vector acting upon it called forces. Use this vector to accumulate the forces acting on each point mass as you compute them. Be sure to clear/reset them at the start of each call to simulate so as to not accumulate extra, nonexistant forces.
First, compute a total external force based on the external_accelerations and the mass (recall that Newton's 2nd Law states that ). Apply this external force to every point mass.
Next, apply the spring correction forces. For each spring, skip over the spring if that spring's constraint type is currently disabled. You can check this using cp, which has boolean values such as enable_structural_constraints. Otherwise, compute the force applied to the two masses on its ends using Hooke's law:
where is the spring constant (ks), and are the positions of the two masses, indicates magnitude, and is the spring's rest length (rest_length). Because the bending constraint should be weaker that structural or shearing constraints, you should multiply your ks by a small constant to achieve this. For example, 0.2 works well.
The force vector is the vector pointing from one point mass to the other with magnitude equal to . Apply this force to one point mass and an equal, but opposite force to the other.
2.2: Use Verlet integration to compute new point mass positions
Now that we have computed the force acting on each point mass for this time step, we need to perform numerical integration to compute each point mass's change in position. There are many ways of integrating our equations, which include Euler's method (explicit and implicit), Verlet algorithm, Runge-Kutta method, and more. Here, we will use Verlet integration, an explicit integrator that is fairly accurate and relatively easy to implement.
Verlet integration computes a point mass's new position at time , as follows:
where is the current position, is the current velocity, is the current total acceleration from all forces, and is a timestep delta_t.
In Verlet integration, we approximate , where is the position from the last time step.
This can be simplified to the following expression:
However, we can add some damping into the simulation to help simulate loss of energy due to friction, heat loss, etc. by slightly scaling down :
where is a damping term (usually very small) between 0 and 1. Let be the given damping value in cp. Note that the damping value is in units of percentage, so divide by 100 before subtracting from 1. The damping used here is simpler than the one introduced in lecture where only the spring driven motion is dampened.
For each point mass, update the value in position according to the above equations and store the previous time step's position in last_position. Do not do anything if the point mass is pinned!
2.3: Constrain position updates
To help keep springs from being unreasonably deformed during each time step, we will implement an additional feature based on the SIGGRAPH 1995 Provot paper on deformation constraints in mass-spring models (see Section 5 for specific details).
For each spring, apply this constraint by correcting the two point masses' positions such that the spring's length is at most 10% greater than its rest_length at the end of any time step. Maintain the same vector direction between the two point masses and only modify their distance apart from each other. Perform half of the correction to each point mass, unless one of them is pinned, in which case apply the correction entirely to one point mass. Do nothing if both are pinned (they wouldn't satisfy the condition anyways, by construction; can you see why?).
Test your implementation
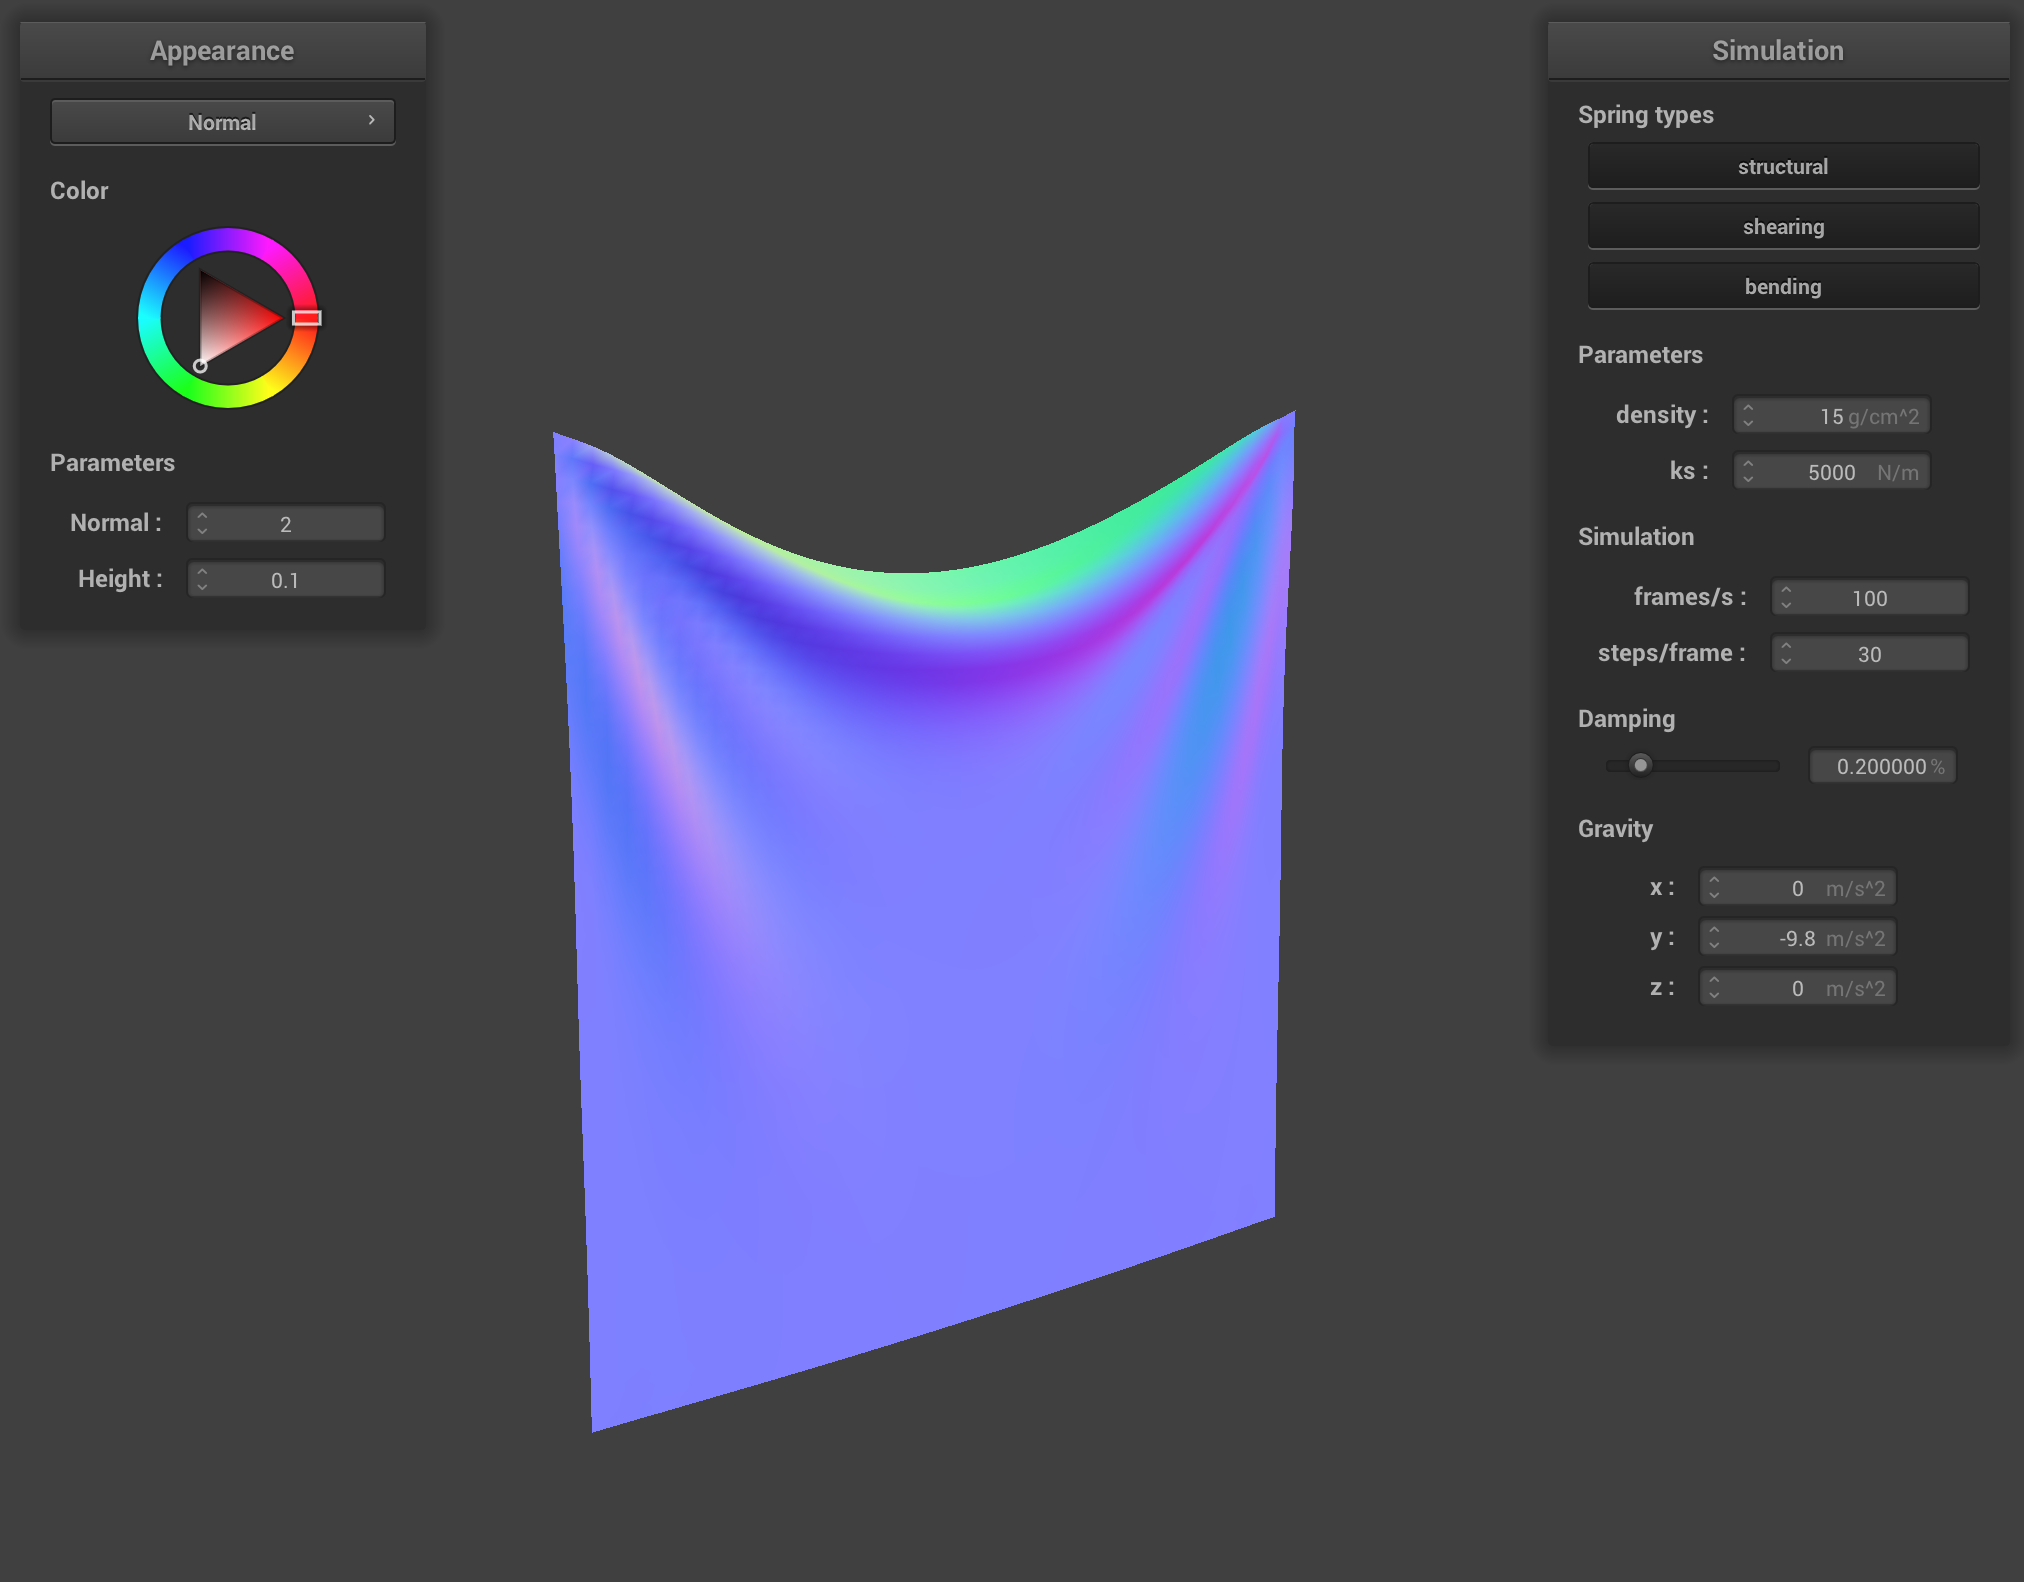
./clothsim -f ../scene/pinned2.json
You should see your cloth (with 2 corners pinned) fall down fairly realistically to a rest state!
You may need to press P in order to play the simulation.

Part 2 Deliverables
- Experiment with some the parameters in the simulation. To do so, pause the simulation at the start with
P, modify the values of interest, and then resume by pressingPagain. You can also restart the simulation at any time from the cloth's starting position by pressingR.- Describe the effects of changing the spring constant
ks; how does the cloth behave from start to rest with a very lowks? A highks? - What about for
density? - What about for
damping? - For each of the above, observe any noticeable differences in the cloth compared to the default parameters and show us some screenshots of those interesting differences and describe when they occur.
- Describe the effects of changing the spring constant
- Show us a screenshot of your shaded cloth from scene/pinned4.json in its final resting state! If you choose to use different parameters than the default ones, please list them.
Part 3: Handling collisions with other objects
Next, let's add support for cloth collision with other objects in the scene to make things more interesting.
Take a look at the collision/ directory, which contains struct definitions for a sphere and a plane. For both sphere.cpp and plane.cpp, you will implement the collide method. At a high level, the collide method will determine whether or not a given point mass is inside the primitive. If it is, we adjust the point mass's position so that it stays just outside the primitive's surface, accounting for friction as we do so.
3.1: Handling collisions with spheres
Before writing any code, look at the struct definition for a sphere in collision/sphere.h.
Implement Sphere::collide, which takes in a point mass and adjusts its position if it intersects with or is inside the sphere. If the point mass intersects with or is inside the sphere, then "bump" it up to the surface of the sphere:
- Compute where the point mass should have intersected the sphere by extending the path between its 'position' and the sphere's origin to the sphere's surface. Call the surface intersection point the tangent point.
- Compute the correction vector needed to be applied to the point mass's
last_positionin order to reach the tangent point. - Finally, let the point mass's new
positionbe itslast_positionadjusted by the above correction vector, scaled down by friction (i.e. scaled by ).
Make sure to update Cloth::simulate to account for potential collisions - for every PointMass, you will want to try to collide it with every possible CollisionObject.
Test your implementation
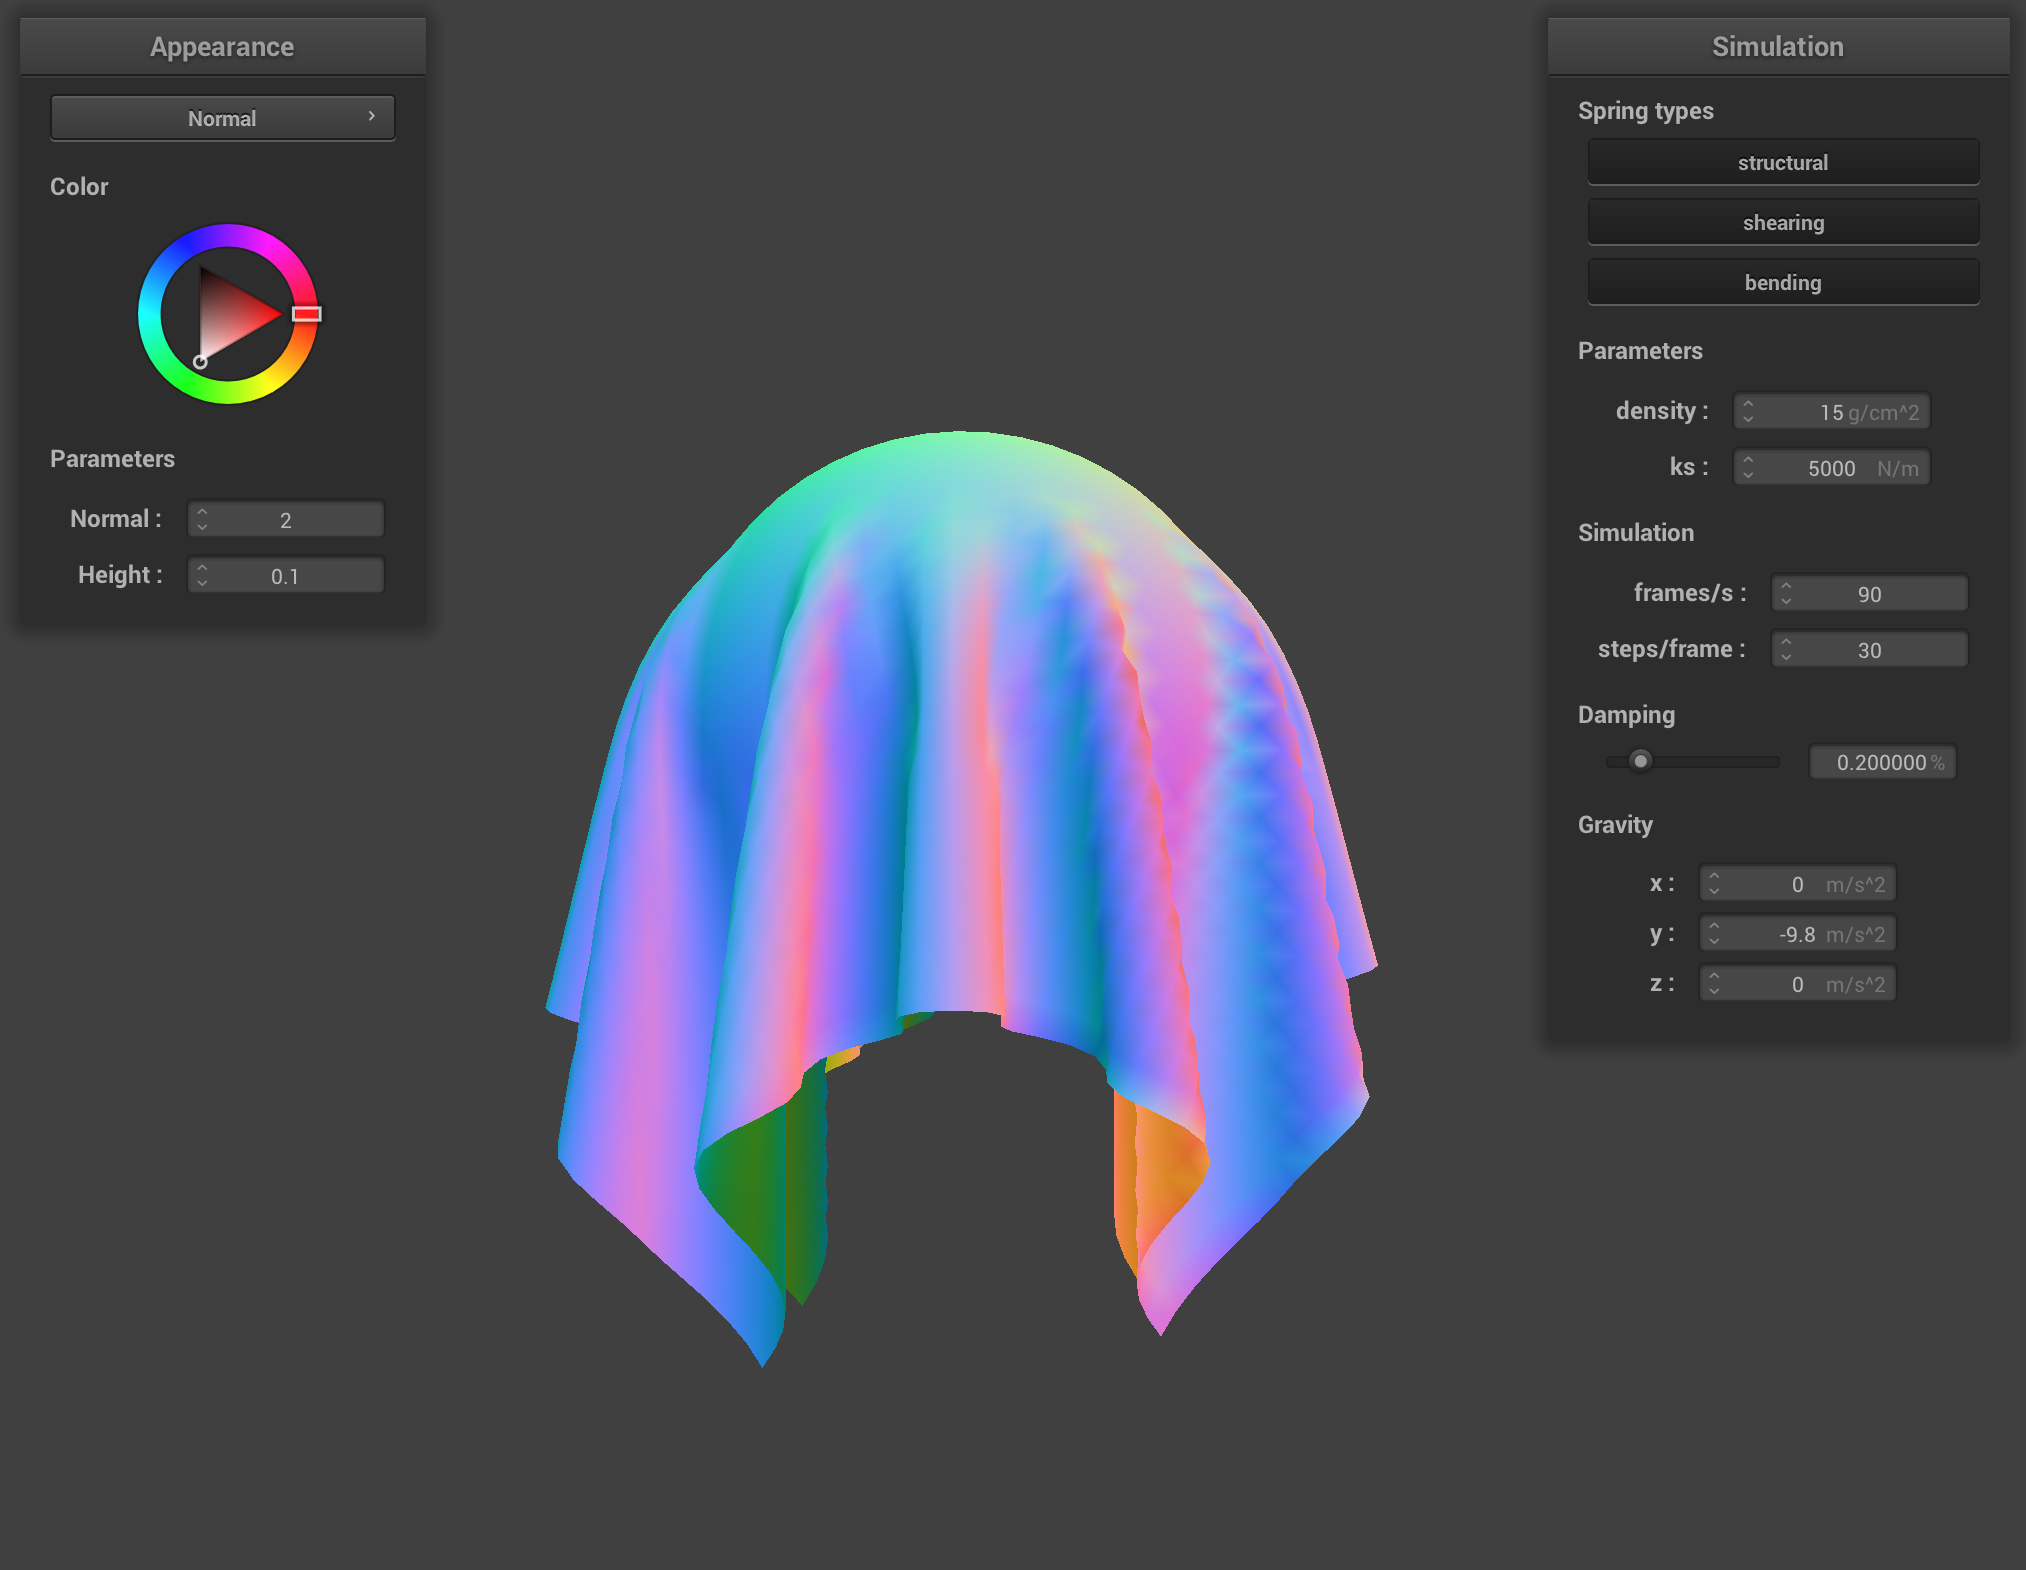
./clothsim -f ../scene/sphere.json
You should see your cloth fall on a sphere and drape itself over it before coming to rest. Do not worry if you get Wireframe: warning: did not find attrib in_normal.
3.2: Handling collisions with planes
Before writing any code, look at the struct definition for a plane in collision/plane.h.
Implement Plane::collide, which takes in a point mass and adjusts its position if it is "inside" the plane, which we define to be when the point moves from one side of the plane to the other in the last time step. If the point mass crosses over, then we "bump" it back up to the side of the surface it originated from:
- Compute where the point mass should have intersected the plane, if it had travelled in a straight line from its
positiontowards the plane. Call this the tangent point. - Compute the correction vector needed to be applied to the point mass's
last_positionin order to reach a point slightly above the tangent point, on the same side of the plane that the point mass was before crossing over. We have provided a small constantSURFACE_OFFSETfor this small displacement. - Finally, let the point mass's new
positionbe itslast_positionadjusted by the above correction vector, scaled down by friction (i.e. scaled by ).
Test your implementation
./clothsim -f ../scene/plane.json
You should see your cloth fall slowly onto the plane and stop at its surface.
Part 3 Deliverables
- Show us screenshots of your shaded cloth from scene/sphere.json in its final resting state on the sphere using the default
ks = 5000as well as withks = 500andks = 50000. Describe the differences in the results. - Show us a screenshot of your shaded cloth lying peacefully at rest on the plane. If you haven't by now, feel free to express your colorful creativity with the cloth! (You will need to complete Part 5 first to show custom colors for anything but the "Wireframe" material.)
Part 4: Handling self-collisions
One thing that our implementation currently fails to handle is cloth self-collision. As a result, if we have a scene in which the cloth falls on itself or otherwise folds on itself, the cloth will clip through and behave strangely. You may have seen this type of issue before in video games.
Try it for yourself without any self-collision code:
./clothsim -f ../scene/selfCollision.json
The cloth ignores itself and falls onto the plane!
To solve this, we will implement cloth self-collision. The naive method of doing this is to loop through all pairs of point masses, compute the distance between them, and then apply a modifying force to the two point masses if they are within some threshold distance apart. However, this solution is too inefficient for real-time simulations, especially as the cloth gets more complex and larger.
Instead, we will implement spatial hashing. At each time step, we build a hash table that maps a float to a vector<PointMass *>, which is stored as map in the Cloth struct. The float uniquely represents a 3D box volume in the scene and the vector<PointMass *> contains all of the point masses that are in that 3D box volume. Once the map is built, we simply have to loop through the point masses, look up (using the hash table) the point masses that it shares the same 3D volume with, and then apply a repulsive collision force if any pair of point masses are too close to each other.
Complete the Cloth::hash_position, Cloth::build_spatial_map, and Cloth::self_collide methods.
4.1: Cloth::hash_position
Cloth::hash_position takes a point mass's position and uniquely map it to a float that represents a specific 3D box volume. One way to do this is effectively partition the 3D space into 3D boxes with dimensions where = 3 * width / num_width_points, = 3 * height / num_height_points, and . (Side note: The constant 3 here is somewhat empirically chosen to improve the accuracy of the spatial hashing algorithm.) Then, take the position and truncate its coordinates to the closest 3D box (hint: think modulo). Using these new coordinates, compute a unique number that corresponds to those 3D coordinates and return it. This will be used as the unique key in our hash table. You may find the fmod function useful.
4.2: Cloth::build_spatial_map
Cloth::build_spatial_map should loop over all point masses and use the Cloth::hash_position method to populate the map as described above.
4.3: Cloth::self_collide
Cloth::self_collide takes in a point mass and looks up potential candidates for collision using the hash table. For each pair between the point mass and a candidate point mass, determine whether they are within distance apart. If so, compute a correction vector that can be applied to the point mass (not the candidate one) such that the pair would be distance apart. The final correction vector to the point mass's position is the average of all of these pairwise correction vectors, scaled down by simulation_steps (this helps improve accuracy by reducing the potential number of sudden position corrections). Make sure to not collide a point mass with itself!
As in Part 3, you will also need to update Cloth::simulate to account for potential self-collisions, similarly accomplished by calling self_collide on each PointMass.
Test your implementation
./clothsim -f ../scene/selfCollision.json
You should see your cloth folding on itself rather than clipping through itself as it falls to the ground. Yay!
However, you may notice that your cloth will continue to flatten itself out over time rather than coming to a more natural, realistic stop. (In real life, damping factors like friction, heat loss, etc. all contribute to net energy loss in the cloth system.) This is because even in a "resting state" on the ground plane, the cloth's point masses will continue to repel each other due to lack of damping spring forces in our model (which is more difficult to do physically accurately using Verlet integration). Don't worry if your cloth is exhibiting this behavior! What's important is that your cloth does not clip through itself and exhibits folding on itself.
Part 4 Deliverables
- Show us at least 3 screenshots that document how your cloth falls and folds on itself, starting with an early, initial self-collision and ending with the cloth at a more restful state (even if it is still slightly bouncy on the ground).
- Vary the
densityas well asksand describe with words and screenshots how they affect the behavior of the cloth as it falls on itself.
Part 5: Shaders
Since shaders are a bit different than most of what we've been doing, we've included quite a bit of introduction and explanation for Part 5, and moved it to its own article.
In Part 5, you will be implementing Diffuse, Blinn-Phong, Texture Mapping, Bump & Displacement Map, and Mirror shaders. There is also an extra credit opportunity for the shaders portion of this project.
Extra credit: Additional cloth simulation features!
For this project, try adding some additional technical features to further improve your cloth simulation! Feel free to browse recently published research papers, or check out some of the following suggested ideas:
- Add wind (which is a spatially varying force)
- More robust self-collisions than spatial hashing (e.g. use a axis-aligned bounding box hierarchy to figure out where parts of the cloth intersect)
- Add the ability to move objects using the GUI around in the scene and have them collide with objects (could move the cloth, or move the sphere or plane, etc.)
- Add other 3D primitives and show that your cloth properly collides with them
For extra credit, you may need to modify other parts of the simulation infrastructure as well as add your own source files. Exercise your creativity and feel free to run all over the skeleton!